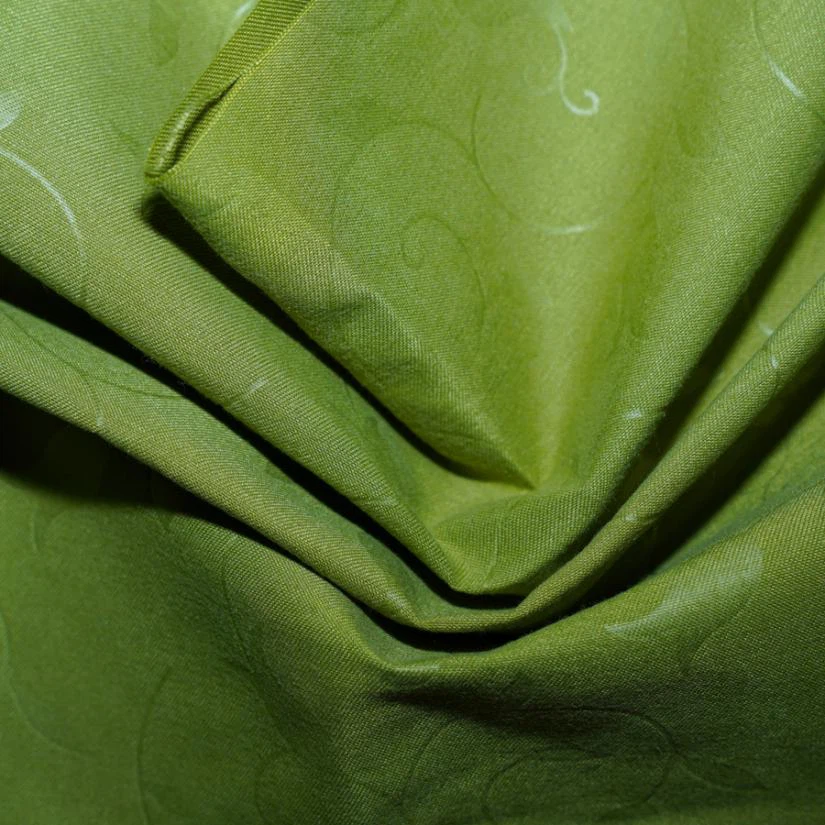
As a supplier of Embossed White Fabric, I understand the importance of maintaining the quality and appearance of this elegant material. Embossed white fabric is not only aesthetically pleasing but also commonly used in various applications, from home decor to fashion. However, tears can occur, whether due to accidental snags, wear and tear, or other unforeseen circumstances. In this blog post, I will share some effective methods to mend torn embossed white fabric, ensuring that your fabric items can be restored to their former glory.


Understanding the Fabric
Before attempting to mend a torn embossed white fabric, it is crucial to understand its composition and characteristics. Embossed white fabric can be made from different materials, such as cotton, polyester, or a blend of both. Each material may require a slightly different approach to mending. For example, Polyester Embossed Microfiber Fabric is known for its durability and resistance to wrinkles, while cotton embossed fabric is more breathable and absorbent.
The embossing process adds a textured pattern to the fabric, which can make mending a bit more challenging. It is important to take this into account when choosing a mending method to ensure that the repair is as seamless as possible.
Assessing the Damage
The first step in mending a torn embossed white fabric is to assess the extent of the damage. Minor tears, such as small snags or holes, can often be repaired easily using simple techniques. On the other hand, larger tears or tears that are located in high-stress areas may require more advanced mending methods or even professional help.
Examine the tear carefully to determine its size, shape, and location. Look for any loose threads or frayed edges that may need to be trimmed before mending. If the tear is near a seam or a hem, it may be necessary to reinforce the area to prevent further damage.
Mending Techniques
1. Hand Sewing
Hand sewing is a traditional and effective method for mending torn fabric. It allows for greater control and precision, especially when working with delicate or intricate embossed patterns. To mend a tear using hand sewing, you will need a needle, thread that matches the color of the fabric, and a pair of scissors.
- Step 1: Prepare the Fabric
Trim any loose threads or frayed edges around the tear. Use a pin to hold the edges of the tear together, making sure that the embossed pattern aligns as closely as possible. - Step 2: Thread the Needle
Cut a length of thread that is about 18-24 inches long. Thread the needle and tie a knot at the end of the thread. - Step 3: Sew the Tear
Start by inserting the needle from the backside of the fabric, about 1/4 inch from the edge of the tear. Bring the needle up through the fabric, then insert it back down through the opposite edge of the tear, about 1/4 inch from the first stitch. Pull the thread tight to secure the stitch.
Continue sewing the tear in this manner, making small, even stitches about 1/8 inch apart. Try to follow the embossed pattern as closely as possible to make the repair less noticeable. - Step 4: Knot the Thread
Once you have sewn the entire length of the tear, tie a knot at the end of the thread on the backside of the fabric. Trim any excess thread.
2. Iron-On Patch
An iron-on patch is a quick and easy way to mend a torn embossed white fabric, especially for larger tears or tears that are located in high-stress areas. Iron-on patches are available in a variety of colors and patterns, making it easy to find one that matches your fabric.
- Step 1: Choose the Right Patch
Select an iron-on patch that is slightly larger than the tear. Make sure that the color and pattern of the patch match the fabric as closely as possible. - Step 2: Prepare the Fabric and Patch
Trim any loose threads or frayed edges around the tear. Place the patch over the tear, making sure that it is centered and aligned with the embossed pattern. - Step 3: Apply the Patch
Follow the instructions on the patch packaging to apply the patch using an iron. Typically, you will need to preheat the iron to the appropriate temperature and place a thin cloth or pressing cloth over the patch to protect the fabric. Press the iron firmly onto the patch for the recommended amount of time, then lift the iron and check to see if the patch has adhered properly. If necessary, press the iron onto the patch again for a few more seconds. - Step 4: Trim the Excess Patch
Once the patch has cooled, trim any excess patch around the edges using a pair of scissors.
3. Fabric Glue
Fabric glue is another option for mending a torn embossed white fabric, especially for small tears or tears that are not under a lot of stress. Fabric glue is easy to use and dries clear, making it a good choice for invisible repairs.
- Step 1: Prepare the Fabric
Trim any loose threads or frayed edges around the tear. Use a pin to hold the edges of the tear together, making sure that the embossed pattern aligns as closely as possible. - Step 2: Apply the Glue
Apply a small amount of fabric glue to the edges of the tear, using a toothpick or a small brush to spread the glue evenly. Be careful not to apply too much glue, as this can cause the fabric to become stiff or discolored. - Step 3: Press the Edges Together
Press the edges of the tear together firmly, making sure that the glue spreads evenly and that the embossed pattern aligns. Hold the edges together for a few minutes to allow the glue to dry. - Step 4: Let the Glue Dry Completely
Allow the glue to dry completely according to the instructions on the glue packaging. This may take several hours or overnight, depending on the type of glue and the size of the tear.
Preventing Future Damage
Once you have mended the torn embossed white fabric, it is important to take steps to prevent future damage. Here are some tips to help you keep your fabric in good condition:
- Handle with Care
When handling embossed white fabric, be gentle and avoid pulling or tugging on it. Use a soft brush or cloth to clean the fabric, and avoid using harsh chemicals or abrasive cleaners. - Store Properly
Store embossed white fabric in a cool, dry place away from direct sunlight. Avoid folding the fabric tightly, as this can cause creases or wrinkles that may be difficult to remove. - Reinforce High-Stress Areas
If you notice that a particular area of the fabric is prone to tearing, such as a seam or a hem, you can reinforce it using a patch or by sewing additional stitches.
Conclusion
Mending a torn embossed white fabric is not as difficult as it may seem. By understanding the fabric, assessing the damage, and choosing the right mending method, you can restore your fabric items to their former glory. Whether you choose to use hand sewing, an iron-on patch, or fabric glue, the key is to take your time and be careful to ensure that the repair is as seamless as possible.
As a supplier of Embossed White Fabric and Embossed Polyester Fabric for Bedding, I am committed to providing high-quality fabric products and excellent customer service. If you have any questions or need further assistance with mending your torn embossed white fabric, please do not hesitate to contact me. I would be happy to help you find the best solution for your needs.
References
- "Fabric Mending Techniques." Sewing.org.
- "How to Mend Torn Fabric." Martha Stewart Living.
- "Iron-On Patch Application Instructions." Patch Manufacturer.